Showing posts with label MAC. Show all posts

Thursday, September 27, 2012

EOTD: Maroon and gold

Hey hey!

Time for another EOTD!


Products used:
- MAC Select cover up concealer in NW20
- Catrice Brow Kit to fill in my brows 
- MAC Blanc Type on the browbone
- MAC Wedge to blend out the crease
- MAC Idyllic paintpot (LE) on the lid as a base
- MAC Reflects Blackened Red on the lid
- MAC Embark in the crease
- Urban Decay Half Baked on the inner corner
- MAC Wedge and Embark on the lower lashline
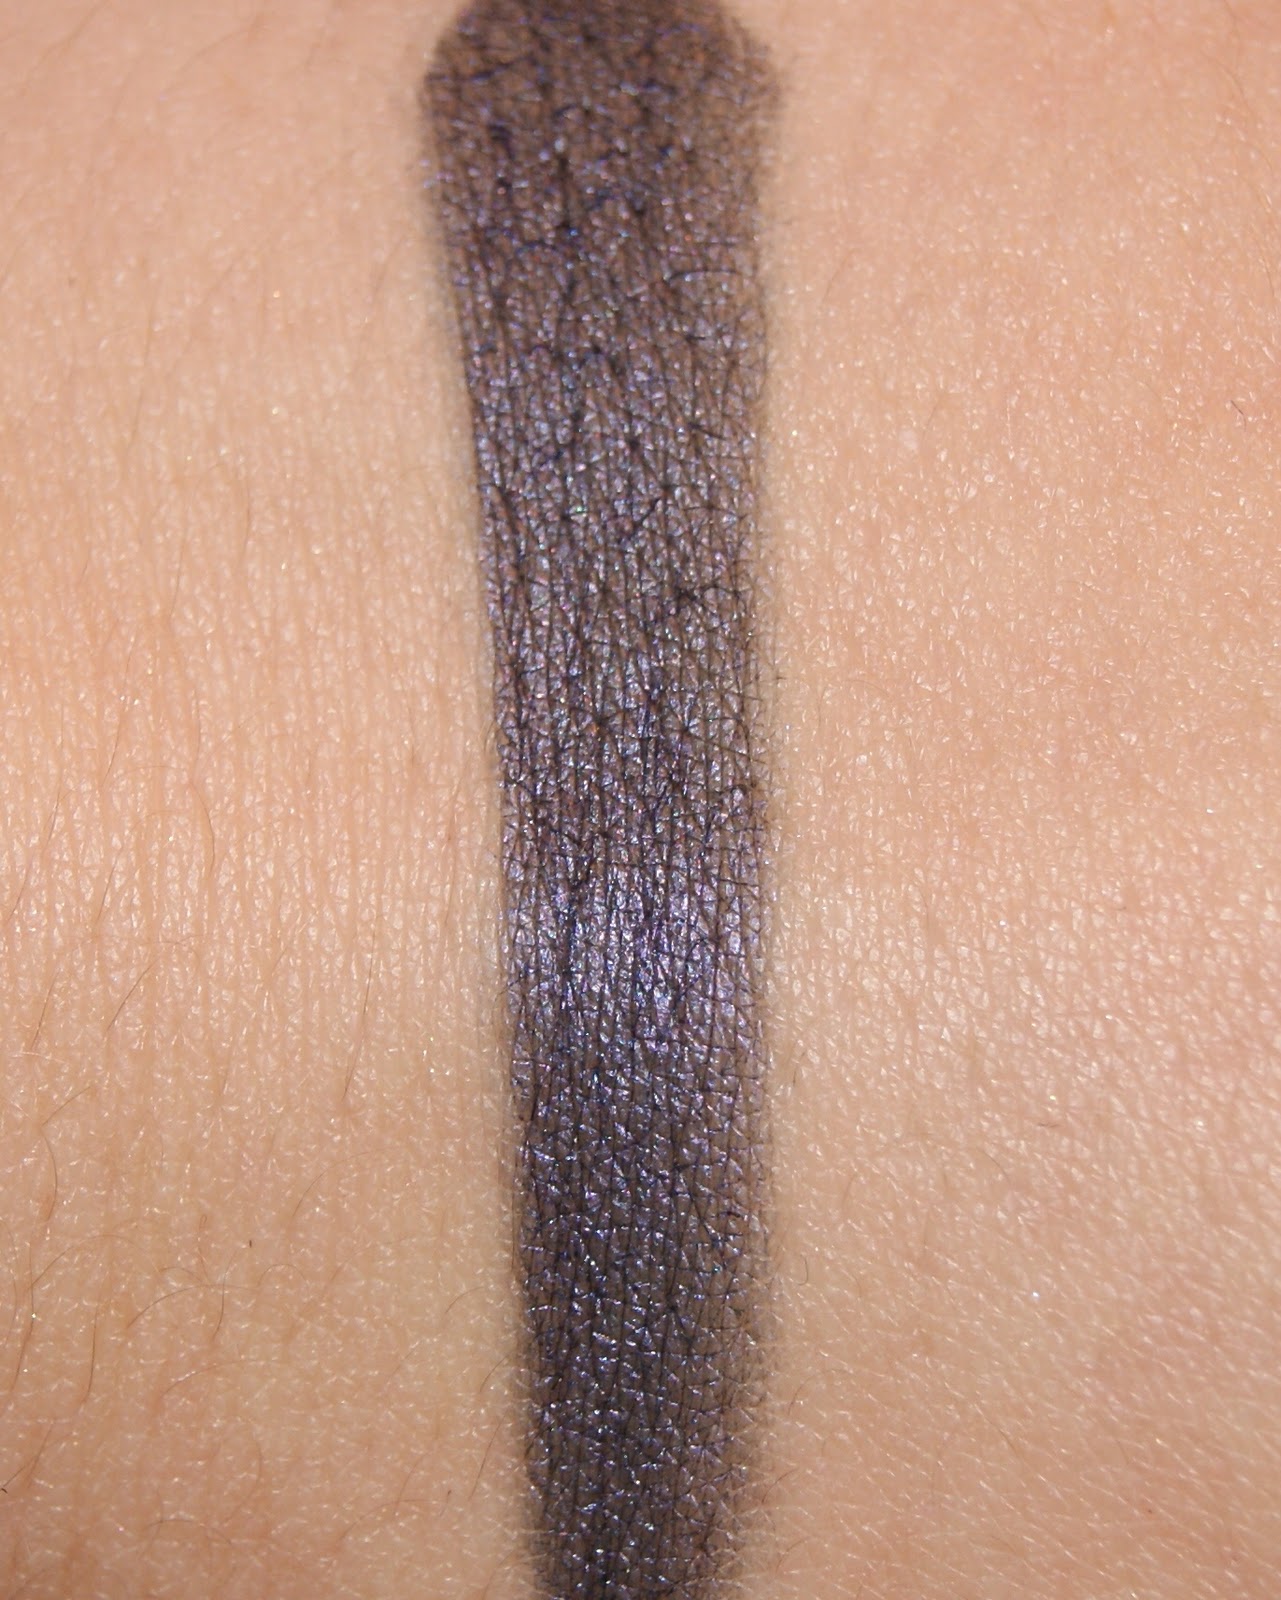
- MAC Blacktrack fluidline on top and bottom waterline
- Covergirl Lashblast Mascara
- Red Cherry lashes #415


Thanks for stopping by!


x
Tanja

Wednesday, September 26, 2012

Tutorial: How I do my brows

Hiya!

A quick tutorial on how I fill in my brows and what products I use.


Products I use:
- ELF Eyelash & brow wand
- MAC 263
- Catrice Eyebrow Set (or MAC Omega and Brun)
- ELF Lash & brow clear mascara


1. Start with groomed brows. I always do my face (foundation, bronzer, blush) before I do my brows. That way I don't mess up my brows while applying foundation or bronzer.

2. Comb the brow hairs up with a spoolie brush.

3. I then trace the bottom of the brow with the darkest colour and an angled brush. I often dampen my brush before applying the powder for a sharper line. Also, notice I don't trace the first 1/4 of the brow.

4. Fill in the rest of the brow with the lighter colour, focussing on the outer 3/4 of the brow. Finish off by combing through with a clean spoolie and setting with a clear mascara.

Done! Quick and simple with inexpensive products, except for the MAC brush but there are lots of cheap angled brushes out there.


Until next time!

x
Tanja

Tuesday, September 25, 2012

EOTD: Green smokey eye with a hint of purple

Hey everyone!

Just a quick EOTD for today!


Products used:
- MAC Select cover up concealer in NW20
- Catrice Brow Kit to fill in my brows 
- MAC Blanc Type on the browbone
- MAC Wedge to blend out the crease
- MAC Bows & Curtseys (LE*) on the lid and lower lashline
- Inglot 418  in the crease
- MAC Fresh Approach (LE) on the top inner corner
- Inglot 441 and 439 on the bottom inner corner
- MAC Blacktrack fluidline on top and bottom waterline
- Covergirl Lashblast Mascara
- Ardell Demi Wispies


Until next time!

x
Tanja

Quick question: Do you prefer large pictures like these, or slightly smaller ones?

* LE = Limited Edition

Sunday, October 23, 2011

EOTD/swatches: Green and red look with the Sleek PPQ Me, Myself & Eye palette

Hiya!

It's time for another EOTD! This time I used the PPQ, Me, Myself & Eye palette from Sleek (can you tell I love Sleek palettes?)

SONY DSC

SONY DSC


Swatches of the first row (over MAC Face and Body N2):

SONY DSC

Swatches of the second row:

SONY DSC


And here's the look I came up with!

SONY DSC
SONY DSC
SONY DSC


Products used:

- MAC Vanilla: applied with a flat shader brush as a brow bone highlight.

- Sleek Supernova: to fill in my brows softly with an angled brush.

- Sleek Golden Silvers: as an inner corner highlight, applied with a pencil brush.

- Sleek Chris The Burgundy: on the lower lash line, slightly winged out, applied with a pencil brush.

- Sleek Blue Monday: applied all over the upper lid with a flat shader brush.

- Sleek Primal Green: used in the crease with a blending brush.

- Sleek Black Box: applied with a pencil brush in the outer corner and smudged along the lash line.

- MAC Blacktrack fluidline: used on the top and bottom water line with an angled brush.

- Max Factor False Lash Effect: couple coats of mascara on the top lashes, one coat on the bottom lashes.

- Ardell Demi Wispies: I added lashes with Duo lash adhesive.


I didn't know which colours to use when I started doing this look, but I like how it turned out! I like how the red on the bottom brings out my green eyes. I think this is a really nice way to make red eyeshadow wearable.

I bought this palette from Boozyshop but it's sold out there. It is still available on the Sleek makeup website for £6.49 or €9.

Hope you like it and thank you for stopping by!


Up next: different parts of the eye - an eye chart.


x
Tanja

Wednesday, October 19, 2011

Haul: MAC Posh Paradise collection + swatches!

Hello!!


Source: Temptalia
Source: Temptalia


About a week ago, the Posh Paradise collection launched in Belgium. It arrived earlier than expected and as soon as I heard, I ran to the nearest MAC store. The main reason I was looking forward to this collection was because of the paint pots. I love paint pots! I like using them as a base or just on their own, or the dark colours as liners.

I picked up all of them except for Treasure Hunt, which is the gold one. It's pretty but I rarely go for gold so I skipped it.

On to the pictures and swatches. I know the pictures of the pots are kind of dark but there's a link to better pictures at the end! The swatches are pretty colour accurate.


Nubile: Light peachy nude


Treasure Hunt: Reflects antique gold


Half-Wild: Mid-tone pruple


Idyllic: Mid-tone copper bronze


Hyperviolet: Deep violet


Imaginary: Blackened navy


Pure Creation: Mid-tone frosty blue


I love these! I'll definitly do a look with some of these soon! Here's a link to Temptalia's post with better pictures.
Did you pick up any of these paint pots? How do you use paint pots?

Thank you for reading!


Up next: EOTD with  Sleek's PPQ Me, Myself and Eye palette!


x
Tanja


Monday, October 17, 2011

EOTD/Tutorial/Swatches: Sleek Au Naturel eye shadow palette (from the Nude collection)

Hey everyone!

Today I have another EOTD for you with step by step pictures, but first I'm going to start off with pictures and swatches of the Au Naturel palette from Sleek. This palette came out with the Nude collection. It has a good selection of neutral colours, great for light daytime looks or darker looks for a night out. Three of the colours have a frost finish, one has a more satin finish, the others are matte.

Here are some pictures of the palette.

SONY DSC
SONY DSC


The colours swatched over concealer (MAC Select Cover-up in NW20)

SONY DSC
SONY DSC


On to the tutorial!

I started of by priming my eye with MAC Paint Pot in Nubile (this came out recently with the Posh Paradise collection, swatches coming soon!)
I filled in my brow mixing Nubuck and Bark and used Nougat with a flat shader brush as a brow bone highlight.

SONY DSC

Next, I applied Taupe all over the lid and in the inner corner with a flat shader brush.

SONY DSC

To define the crease and add some shading, I mixed Cappuccino and Bark and applied in the crease with a blending brush. Then I darkened up the crease and defined it even more using a crease brush with Mineral earth right in the crease and outer corner.

SONY DSC


With the same crease brush, I used Noir in the outer corner.

SONY DSC


On the bottom lash line I applied Conker with a pencil brush. On the bottom waterline I used a skin coloured eyeliner (Isa Dora Inliner Kajal in 56 Blonde).

SONY DSC

I added MAC's Blacktrack fluidline to the top lash line.

SONY DSC


Then applied mascara, Max Factor False Lash Effect, to the top and bottom lashes.

SONY DSC

You could leave it like this, but I wanted to add some extra drama so I applied Ardell's Demi Wispies.

SONY DSCSONY DSCSONY DSC


And that's how I created this look. I hope you like it!
If you want to know more about the brushes I use and which are my favorites, click here.


I purchased this palette from Boozyshop for €8.50. You can also order it from the Sleek website for €9 or £6.49


Thanks for stopping by!


Up next: MAC Posh Paradise haul;


x
Tanja

Thursday, October 6, 2011

Favorites: September 2011

Hi!

Is it October already?? September just flew by! I apologize for the lack of post suring September, I'll try and do better this month!

Anyway, these are some of the products I've been using/loving the most during September.

SONY DSC


- Clear small storage unit: First up is this clear cube with 3 drawers that I use to store my daily used products in. It's not THE Clear Cube which a lot of celebrities supposibly use for their makeup, I just purchased this at Habitat in Antwerp for €15. I like the idea of The Clear Cube, but don't like the price so much. If you don't know what The Clear Cube is, click here. I like the fact that I can see through this little clear cube and how it's small so it doesn't take up too much space on my vanity, yet big enough for all my necessities. I try to switch up the products I keep in here every now and then so that I don't get stuck in a rut and use the exact same products every single day.

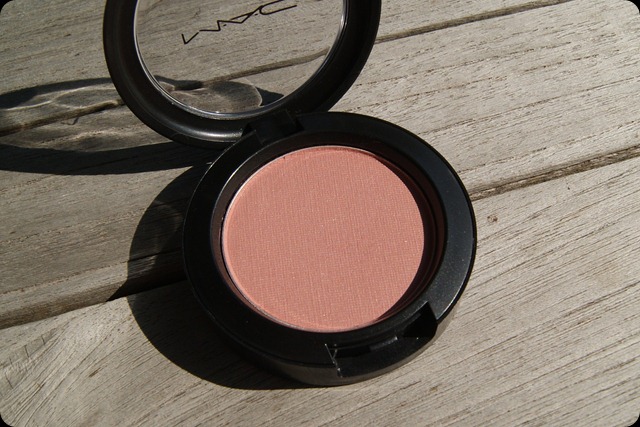
- MAC Stunner blush: This blush came out with the MAC Me Over collection which launched not too long ago (click here for my haul). I've used this blush pretty much every time I did my makeup because it just goes with everything. It's a stunner!
DSC03358DSC03359 

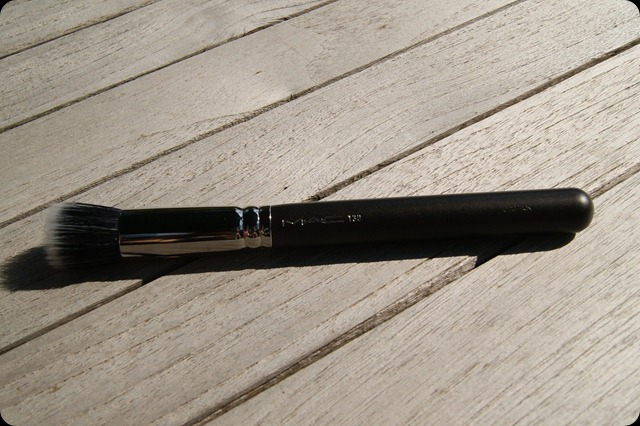
- MAC 130 short duo fibre brush: I bought this brush went I went to check out the MAC Me Over collection and I've been using it to apply my foundation since the day I got it. I absolutely love it. It's a lot shorter and more dense than the MAC187, which I used to use for my foundation. I still sometimes use it to make sure my foundation is well blended down my neck. It's also smaller which makes it a lot easier to work with around the eyes and nose.
DSC03345

- Catrice Prime and Fine Smoothing Refiner: Click here to go to the Catrice website to read a little more about it and to find the ingredients. It's a silicone-based primer which is supposed to fill pores and fine lines. It doesn't really keep my foundation on longer (I use Revlon colorstay which stays on pretty well by itself), but I feel like it does provide a smoother base for my foundation. I think this primer is very comparable to the L'Oreal Studio Secrets Smoothing Resurfacing Primer. I don't have the L'Oreal primer but I've seen it in durgstores and tested it on my hand and it looks and feels exactly the same to me. Not sure how much the L'Oreals Studio Secrets Primer costs, but the Catrice primer only costs €4.99!

SONY DSCSONY DSCSONY DSCSONY DSCSONY DSC    

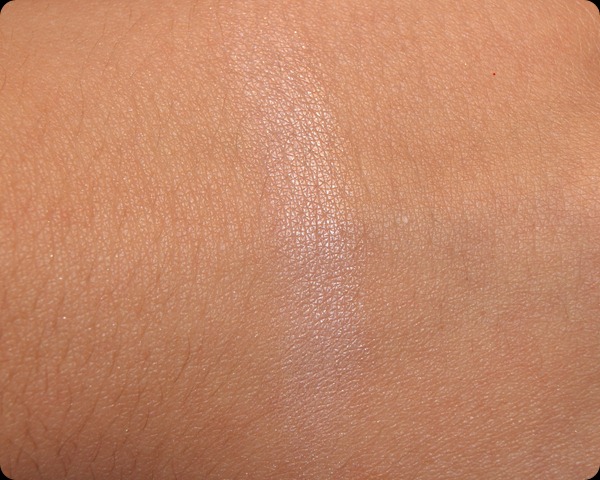
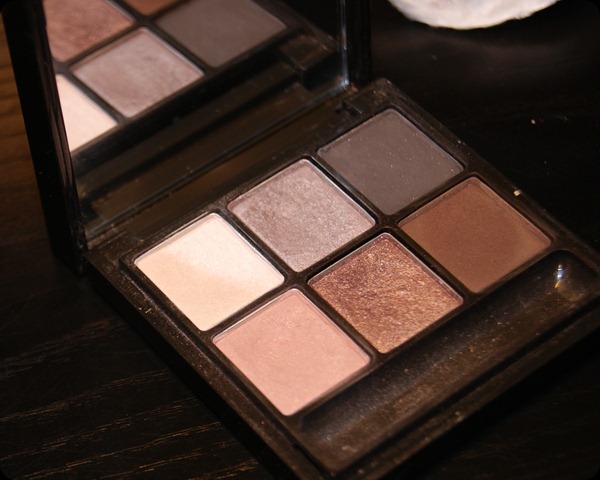
- MAC Fire In Her Eyes eyeshadow in the 6 Smoke and Mirrors palette (LE from the Magic, Mirth and Mischief Holiday 2009 Collection): This is one of the products that I threw in the cube so I'd use it more often. And I certainly did use it a lot, the lightest highlight colour in particular. It's described as a frost neutral beige. I like it as an inner corner hightlight and a soft wash as a brow highlight. It's a neutral (not really cool or warm, but more in between) colour so it goes with everything and gives a nice shine without being too frosty.
SONY DSCSONY DSCSONY DSC  

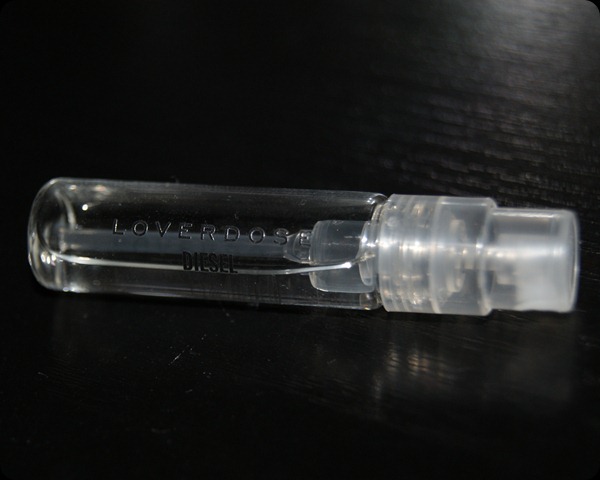
- Loverdose Eau de Parfum from Diesel: I got two of these little samples not too long ago. I loved it the first time I smelled it and I've used up one of the two samples. I can't really tell you what it smells like because I'm horrible at describing scents, but I did some research and appaerntly it has notes of mandarin, jasmin, liquorice and vanilla. For me this is the kind of parfum that I'd wear at night. I also like the bottle of this parfum so I really want to get a full size bottle of this one!
Click here to go to the Loverdose website.
SONY DSC

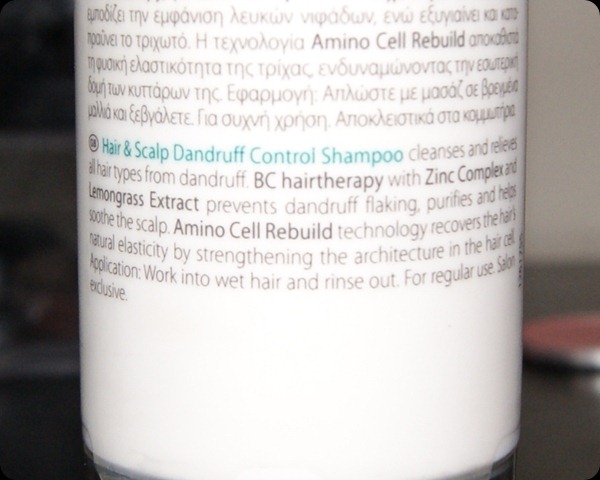
- BC Bonacure Hairtherapy Hair+Scalp Dandruff Control Shampoo (250ml): This shampoo saved my hair! Since may/june, I noticed I was losing a lot of hair and I didn't know why. I didn't know if it was because of a lack of vitamins, or stress or the shampoo that I was using at that time.
My roots get oily after a day and a half after washing it, but my scalp is usually really dry. I've tried many different shampoos but often go back to Head & Shoulders because other shampoo's would give me dadruff. Because I was losing so much hair I even asked my doctor if she knew what could be the cause. She said that it was normal to lose more hair around spring and summer. I kept using the shampoos I'd normally use which are all drugstore shampoos found at pretty much any supermarket, but the hairloss didn't improve.
About a month ago, I went to get my hair cut after about a year and a half or trimming my ends myself. The hairdresser immediately told me that my scalp was inflammeted which was causing the hair to fall out. He said the chemicals in cheap, drugstore shampoos are too harsh and can dammage your scalp so he recommended me this shampoo. I noticed a major improvement after 2-3 uses and the amount of hair I lose when washing or brushing my hair is back to normal. I'm really glad I got this shampoo and I'll probably never go back to cheaper shampoos again. I'd rather spend a little more money than lose all my hair.
I purchased this shampoo at the hair salon and I know it's available at Pro Duo here in Belgium (which is a hair and beauty supply store). It cost me about €14 at the salon and about €9 at Pro Duo with my discount card. I also found it available on Beautybay.com.

SONY DSCSONY DSC 


That's it for my September favorites! If you have a question about any of these products, feel free to ask me in the comments!

Thank you for reading and until next time!

Up next: some OPI nail polishes!

x
Tanja