Hey hey!
Two weeks ago I decide to give Shellac a try and get my nails done professionally. I’ve been doing my own nails for years and I love nail polish. If I could I would have my nails painted 24/7, but because I swim 3 times a week and I sometimes work as a barmaid, my nail polish always starts chipping and peeling off after a swim or a day of work. I wanted to see how Shellac would hold up against the water.
What is Shellac?
"14-day wear. Mirror finish. Zero dry time. No nail damage. Shellac is a breakthrough, patent-pending UV3 technology that combines the ease of polish with the permanence of gels. No other products in the market can stand up to the claim – on like polish, wears like gel, off in minutes." (
Source: Shellac FAQ) Sounds promising right? If you want to know more, go to the
CND website or
click here to watch CND's introduction video on Shellac.
When I got my nails a little longer and all about the same length, I booked an appointment at my local nail salon. Unfortunately, by day of the appointment, I had broken 3 nails. This is another reason why I wanted to try Shellac. I was hoping the extra layers on my nails would make them a little stronger and less prone to breaking or peeling.
My experience with a professional nail stylist + Shellac application:
When I arrived at the nail salon, I was the only one there, no other stylists or clients. The woman who did my nails seemed nice but a little preoccupied. I sat down at the manicure table and she offered me something to drink. She also gave me a nail wheel with swatches of the Shellac colours she had. I wanted to go with a darker colour and I like purple, so I went for Rock Royalty. The nail stylist made some phone calls while I was deciding what colour to choose, then sat opposite me. There were 2 UV lamps on the table in front of me to cure the Shellac but they also served as wrist supports, which I actually didn't find very comfortable. They also were starting to get really warm towards the end of the manicure.
First, she took of the layer of clear strengthening polish I had on my nails. Next she started to file my nails. I told myself in advance to just let the professional do her job and not ask any questions. I’m quite a perfectionist when it comes to my nails (or makeup, or hair) and when I do my own nails, I want them to look as perfect as possible. I had filed my nails down to the shape I wanted them to be right before going to the nail salon. I like my nails to be quite squared off with slightly rounded edge. If you want to see what my nails look like when they’re a little longer, click
here. Keep in mind that my nails were a lot shorter at the time of the Shellac manicure.
Anyway, she started filing my nails. This was the first thing she did that I wasn’t too happy about. First of all, she didn’t ask what kind of shape I wanted my nails to be. This might not bother other people, but it did bother me. You don’t want a hairdresser to just start cutting your hair without asking what kind of style you want either, right? If I ever get my nails done again, I’ll be sure to tell them what I want my nails to look like in case they don’t ask. But I was just going to let her do her her thing so I didn't say anything. The next day some of my fingertips hurt (you know that feeling when you cut or filed your nails too short)
To
prep my nail for the UV base coat, she went over each nail with a cotton pad with some
ScrubFresh on it. It cleanses and temporarily dehydrates the nails so that the Shellac can adhere better to the natural nail.
Next was the
Shellac UV base coat, a thin clear coat as a foundation for the colour. This has to cure for only 10 seconds. She then applied the first coat of
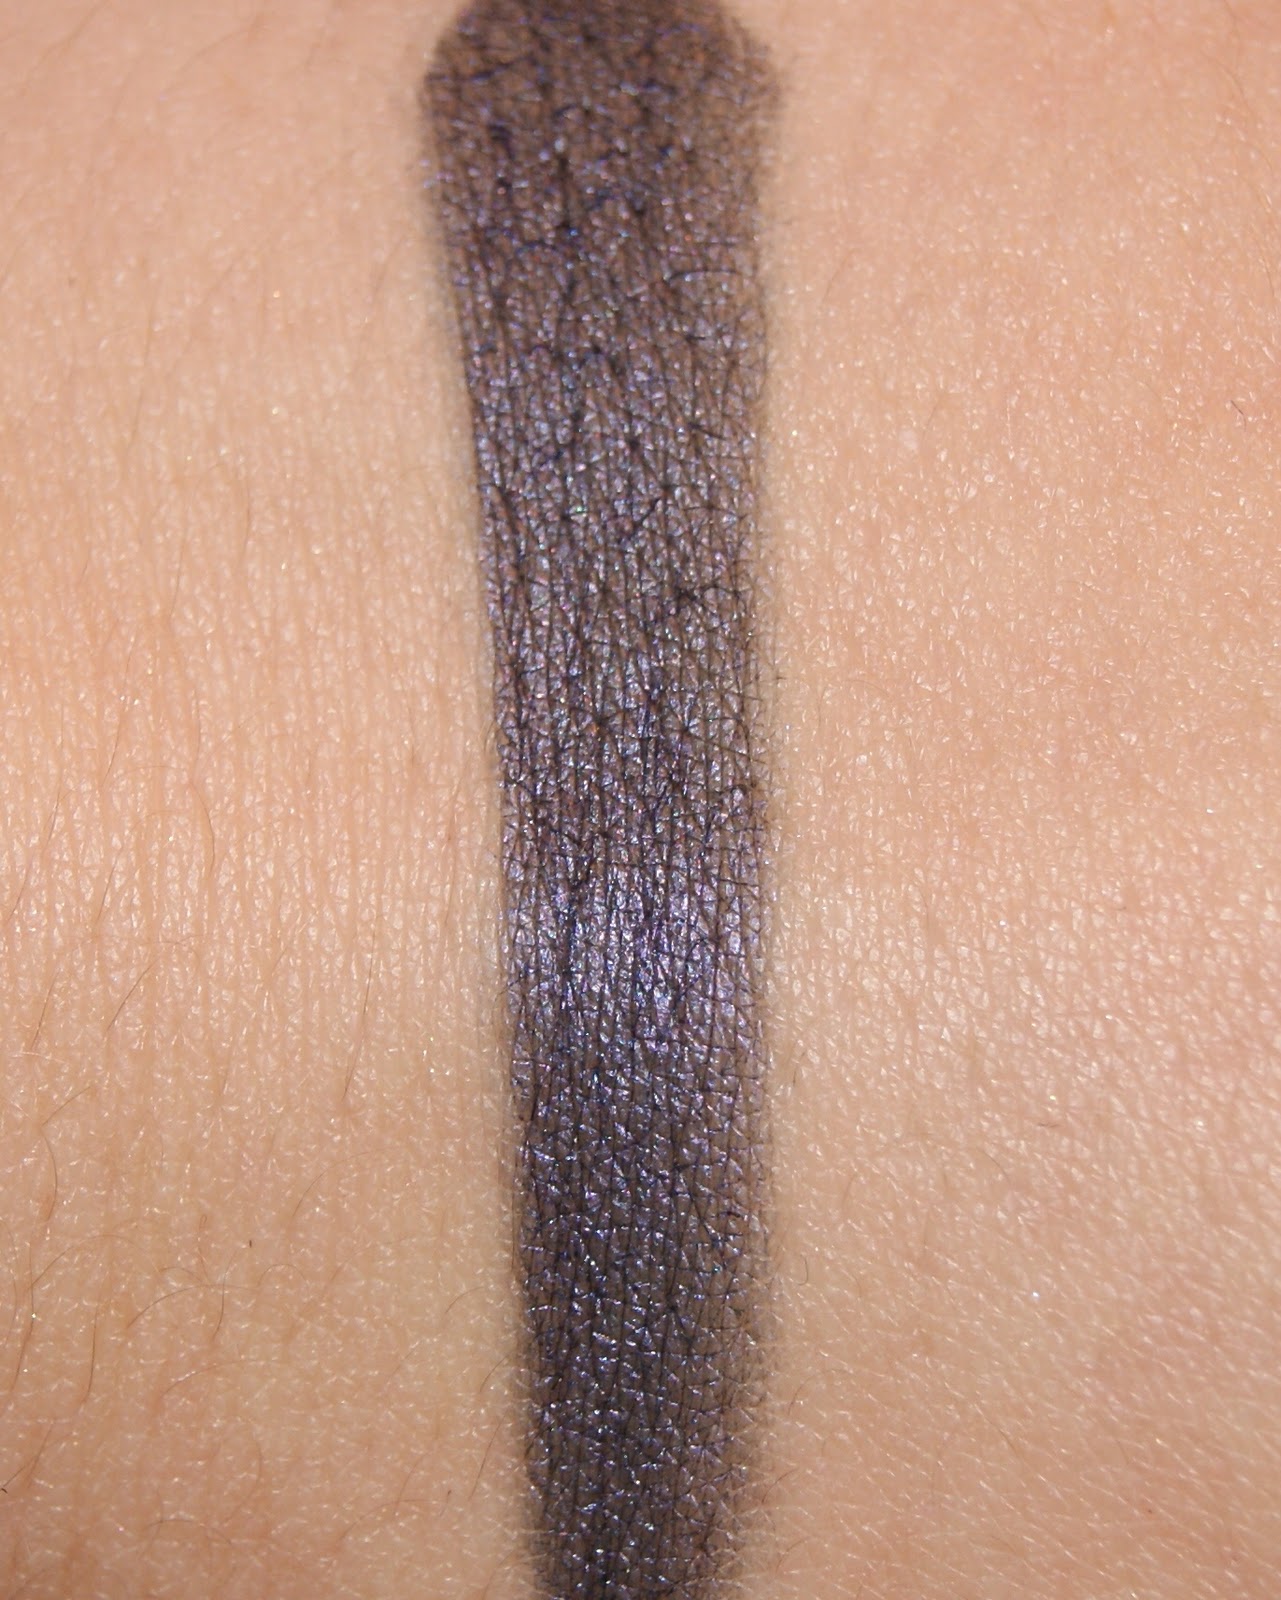
Rock Royalty to my nails. I read that these colours have to be applied in a thin layer and noticed she had a lot of the product on her brush. She did
2 coats which had to cure for 2 minutes each (this was not timed and I think my hands were in the UV lamp for less than 2 minutes each time). The last step is one layer of the
Shellac UV top coat for a shiny finish that keeps your manicure looking fresh. After the top coat, she went over each nail again to remove the sticky residue. And my nails are all done!
Overall, I'm in love with Shellac! I think the application could have been done better, but it still wore very well. I would have even been happy if it only lasted a week!
Pros:
- Wears up to 14 days. It might even stay on longer depending on what you do with your nails and how fast your nails grow.
- 100% dry after application.
- No damage to your natural nails. I can't say if my nails have gotten stronger, but a couple extra layers on your nails can only be a good thing right?
- You can paint over the Shellac with regular polish. (Remove nail polish with acetone-free nail polish remover)
- The shine really lasts.
- You can do it yourself. It's not as easy as nail polish, but if your confident about painting your own nails, you can do it yourself, all you need is a little practice. Also make sure you do some research before doing shellac yourself!
Cons:
- I don't want to pay 35 Euros every 2 weeks to get them done.
- I hope they come out with more shades in a wider variety. Right now most of the colours they have are reds and pinks.
Time for pictures!
Right
after application.

Here you can see she didn't seal the tips

The edges aren't as straight as I would have liked them to be. I love the colour though!

Also you can see how she didn't cover the entire nail with the top coat.

Here are my nails
after a week. I added some glitter on my ring finger (OPI - Show It And Glow It). A little part of my middle finger came off because she went all the way to the cuticle with the base coat on that nail. It started peeling when the nail grew out.

Can't see much tip wear.

My nails again
after 2 weeks. They still look pretty much the same as they did a week before.


What you can't see on the first pictures though, is that the edges of the Shellac weren't attached to the nail anymore. I noticed this on day 11 but the Shellac stayed on fine, as long as I didn't pick at it.
 Shellac Removal.
Here's how I took the Shellac off at home.
I soaked pieces of a cotton pad with acetone and wrapped them around my fingers with aluminum foil. I left these on my nails for about 10 minutes.


Then took them off and gently scraped off the Shellac with this little nail tool. I suggest taking them off one by one, so the Shellac is still soft when you're scraping it off.


Here are my nails after removal, cuticle butter (I use LUSH Lemony Flutter) and hand cream (I use Almond oil daily hand & nail cream from The Body Shop). They look pretty healthy right!

I really like the Shellac system and decided to purchase a UV lamp and the Shellac steps so I could do my own nails with Shellac. After taking off Rock Royalty, I did a French manicure. I don't have the white Shellac yet (Cream Puff), so I started off by painting the white tips with a regular white nail polish and then followed with the base coat, 2 coats of Romantique and the top coat. I really like how they turned out.

That concludes my (super long) Shellac review. I love it and I'm really looking forward to new colours to come out!
Hope this was helpful and if you have any questions, don't hesitate to ask me in the comments!
Thank you for stopping by!!
Up next: EOTD with the Sleek Au Natural palette!
x
Tanja